
Your Headlights Are Fogging Up for a Reason: 4 Causes and 5 Steps to Fix Them
Foggy headlights are not always a sign of damage, but persistent condensation can point to a problem that needs attention.
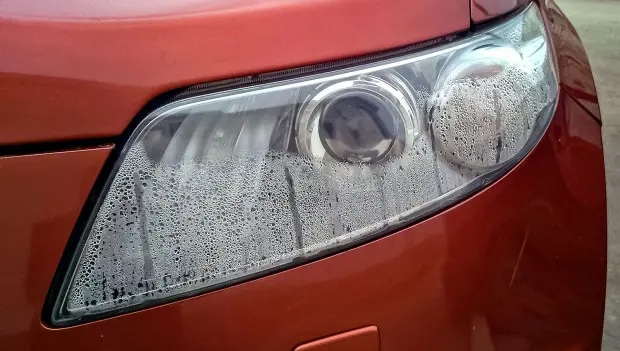
Headlights and taillight assemblies can fog up for perfectly normal reasons. The key is knowing how to tell ordinary condensation from a lighting-system problem, identify what is causing it, and address it properly.
The first thing to understand is that seeing a haze inside a headlight does not automatically mean something is broken. Headlight housings are not completely airtight. When a bulb operates, the air inside the housing heats up and expands. Without a way for that pressure to escape, the housing could potentially crack. That is why headlights are designed with small vents that allow air to move in and out.
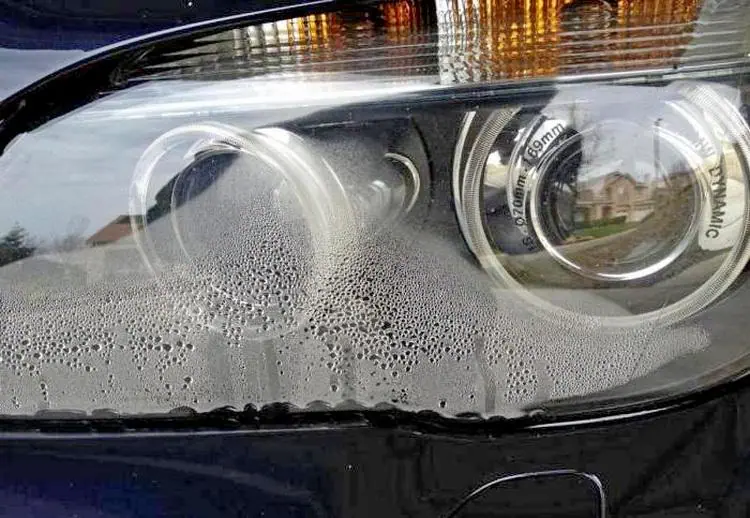
The same basic principle applies to halogen, HID and LED headlights.
Because of this design, condensation can form naturally. For example, it may happen after driving through snow or a cold rain and then parking the vehicle in a warm garage. It can also occur after a car wash.
If the moisture disappears within about 20 to 30 minutes and the inside of the headlight is otherwise clean and dry, there is usually no need to do anything.
When Fogging Means There Is a Problem
Pay closer attention if your headlights begin fogging up more frequently than they used to, or if one headlight develops significantly more condensation than the other. Those signs can indicate that moisture is getting inside because of a problem with the housing or its seals.
Why You Shouldn't Drive With a Wet Headlight
Moisture inside a headlight can create two problems.
It can accelerate corrosion. Bulb sockets, terminals and electrical contacts can oxidize more quickly when exposed to moisture, potentially affecting electrical conductivity.
It can reduce visibility. Water inside the housing can interfere with the path of the light, causing the beam to become scattered and less effective.
Step-by-Step: How to Get Rid of Condensation
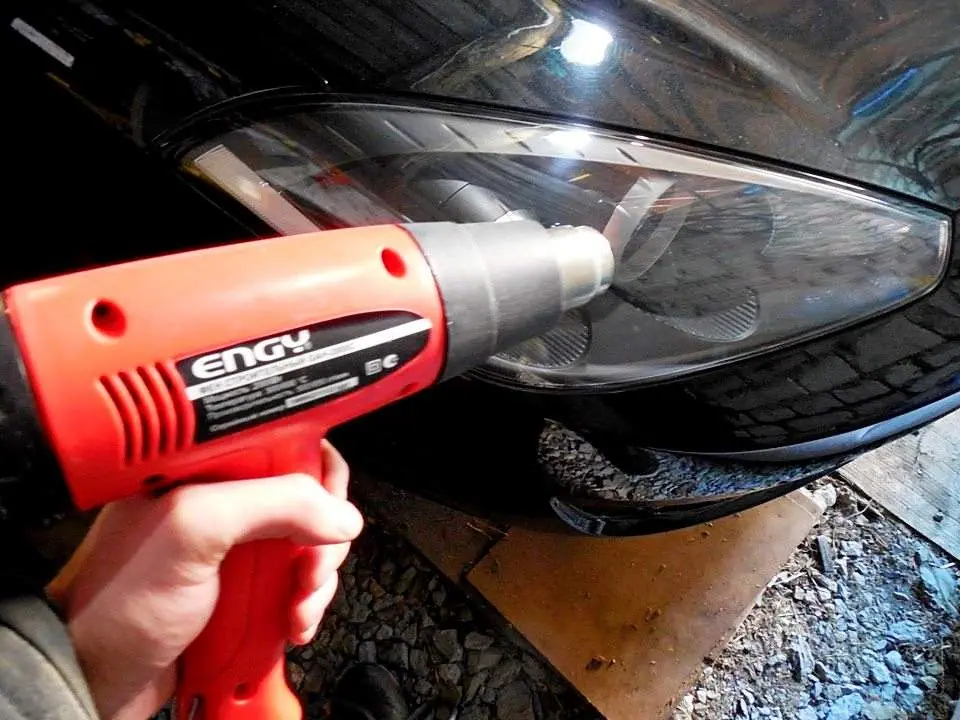
Step 1: Dry the Headlight
There are several ways to dry a fogged headlight. Choose the method that makes sense for the amount of moisture inside.
Use a hair dryer. Use a household hair dryer on a warm, not hot, setting. Excessive heat can damage plastic components, the reflector or the lens. Direct the airflow through the bulb opening or the headlight's ventilation passages.
Use silica gel and a cloth. If there is standing water inside the housing, carefully soak up as much as possible with a clean cloth. You can then place a packet of silica gel inside the housing to absorb remaining moisture.
Let it air-dry. In a warm, dry garage, you can remove the rear covers and leave the housing open for several hours or longer, allowing the moisture to evaporate naturally.
Use the headlight's own heat. Turning on the low beams for a while can generate enough heat to help evaporate moisture inside the housing. Do not leave the lights unattended or use this method if there is a significant amount of standing water near electrical components.
Step 2: Find the Cause
Inspect the headlight for several common problems:
Cracks in the lens or housing. Water and dirt can enter through cracks, allowing moisture to accumulate inside.
Blocked ventilation passages. Dirt and debris can clog the vents, preventing normal airflow and keeping condensation trapped inside.
A worn bulb-socket seal. Rubber seals can lose their elasticity and shape over time, allowing moisture to enter around the bulb socket.
These are relatively straightforward problems to identify and, depending on the vehicle, may be possible to address without major disassembly.
If those three potential causes have been ruled out, the problem may involve a more serious leak, such as a failed seal between the lens and the housing.
Step 3: Find Where the Housing Is Leaking
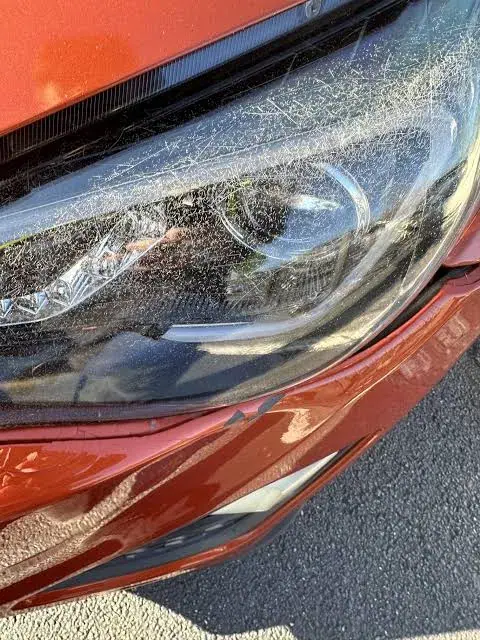
Once the obvious causes have been ruled out, you need to locate the point where air and moisture are getting through. Two methods can help.
Use air. Block one ventilation opening and connect a hand pump or suitable air source to another opening. Apply only low pressure and watch for the point where air escapes. That can reveal the location of a leak.
Use water. Remove the headlight and position it with the lens facing downward. Carefully add a small amount of distilled water and look for the point where water escapes. Any leaking area can indicate a gap or failed seal.
Avoid using excessive air pressure or forcing water into a housing with electrical components still installed.
Step 4: Dry the Headlight Before Repairing It
Before attempting a repair, remove all moisture from inside the housing. Repeat one of the drying methods described in Step 1.
This matters because sealant needs a clean, dry surface to bond properly. Trapping moisture inside the housing during the repair can allow condensation to return.
Step 5: Seal the Leak
For a basic resealing job, you may need:
- Silicone or polyurethane sealant designed for automotive lighting
- All-purpose automotive cleaner
- Clean rags or shop towels
- A small tool for applying the sealant, such as a narrow plastic applicator
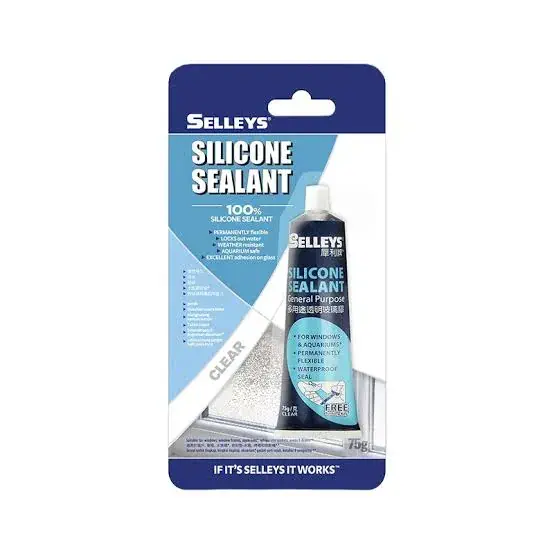
The repair process is straightforward:
- Clean the affected seam. Remove dirt, dust and old sealant from the area where the leak was found. Clean and degrease the surface with a suitable automotive cleaner.
- Apply the sealant. Follow the manufacturer's instructions and completely fill the gap or damaged seam.
- Allow the sealant to cure. Follow the curing time listed on the product packaging.
- Test the housing again. Once the sealant has fully cured, check the headlight for leaks using an appropriate method.
Persistent condensation can be a minor nuisance, but standing water inside a headlight can eventually affect electrical components and reduce the amount of light reaching the road. Identifying the source of the moisture and fixing the leak can help restore the lighting system and keep nighttime driving safer.
You may also be interested in the news:
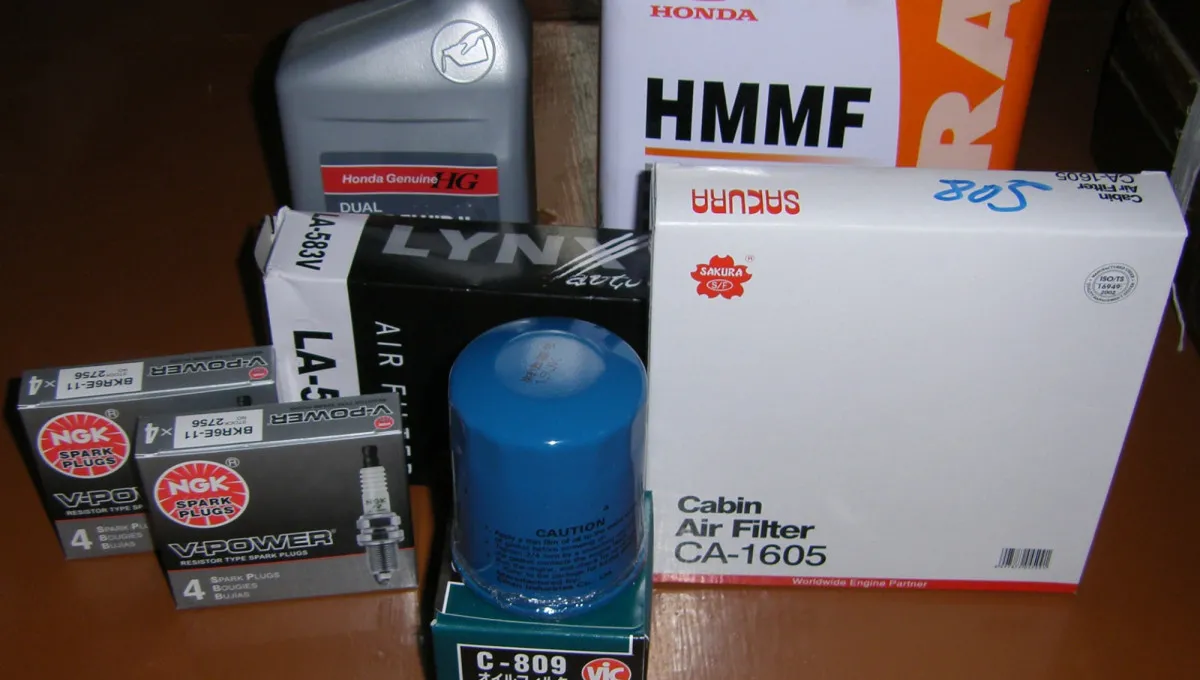
Changing Your Car’s Filters: How to Do Basic Maintenance Yourself Without Damaging the Engine
Changing the oil, engine air filter and cabin air filter yourself can save money, but small mistakes can cause expensive problems.
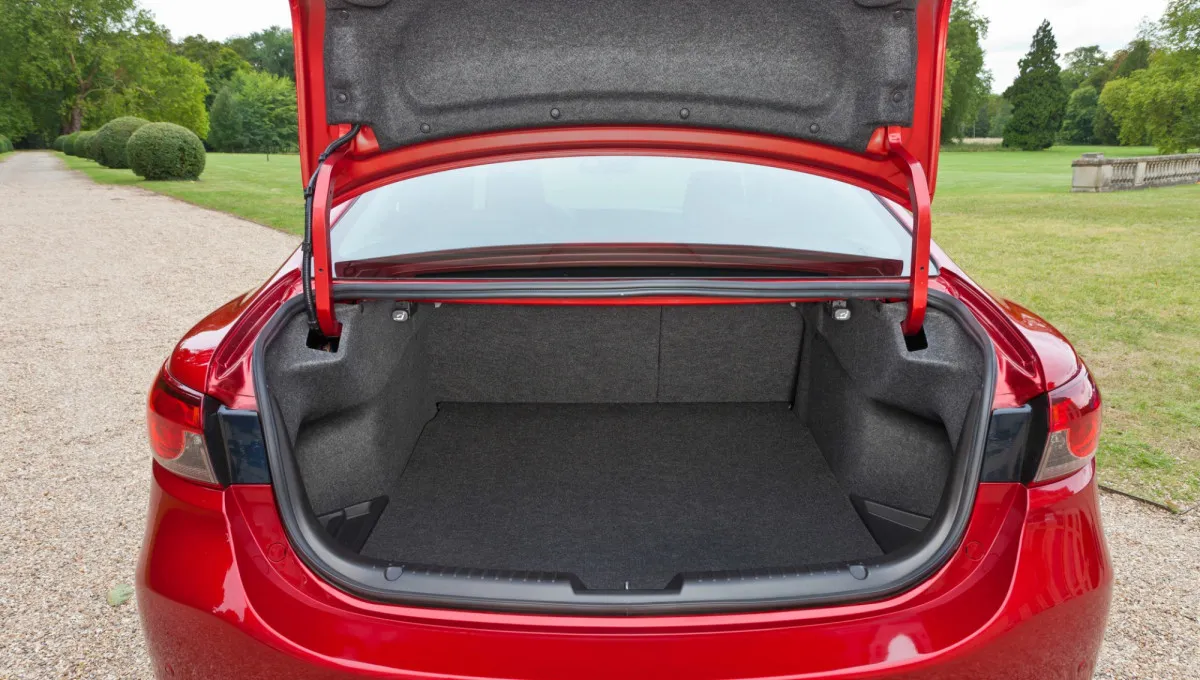
That Stuff in Your Trunk Is Costing You More Than You Think—Here’s What to Take Out
Carrying unnecessary cargo can quietly increase fuel use, accelerate wear and create an avoidable safety hazard for drivers and passengers.
Why Is Your Car’s Suspension Making a Knocking Noise? 5 Symptoms Every Driver Should Know
Five common suspension noises can point to specific problems, helping drivers narrow the cause before inspection.
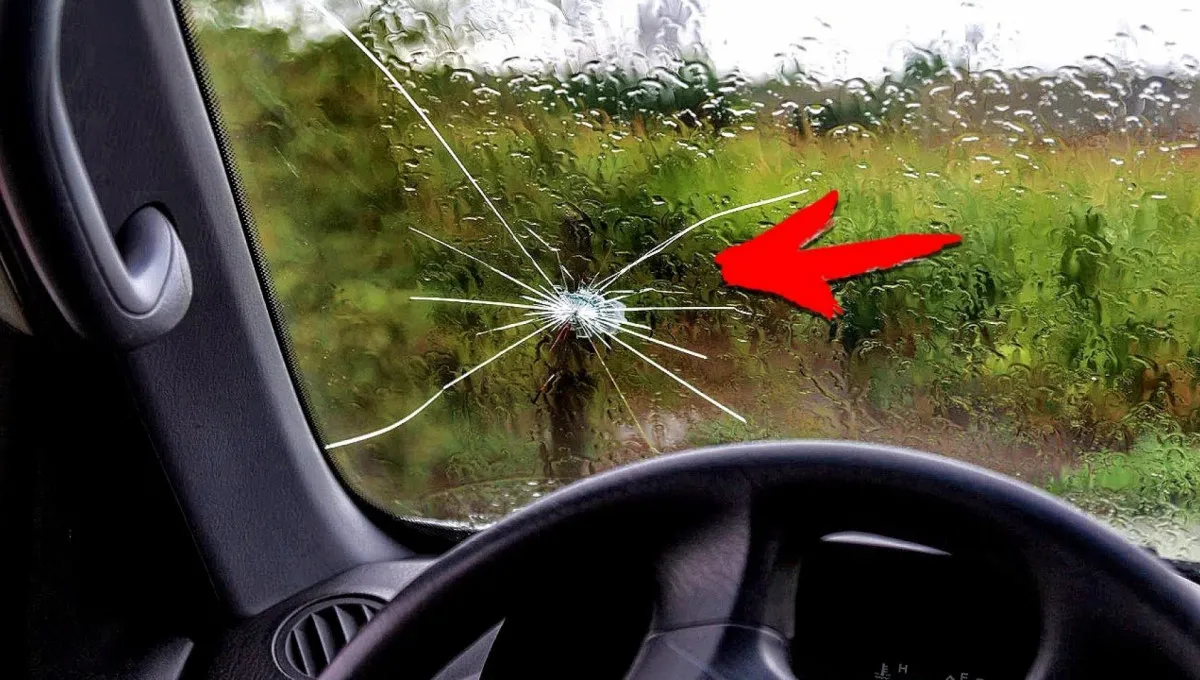
How to Protect Your Windshield From Flying Rocks: This Simple Trick Could Save You From Replacing It
Keep your distance, slow down and repair chips quickly to help prevent small windshield damage from becoming costly cracks.
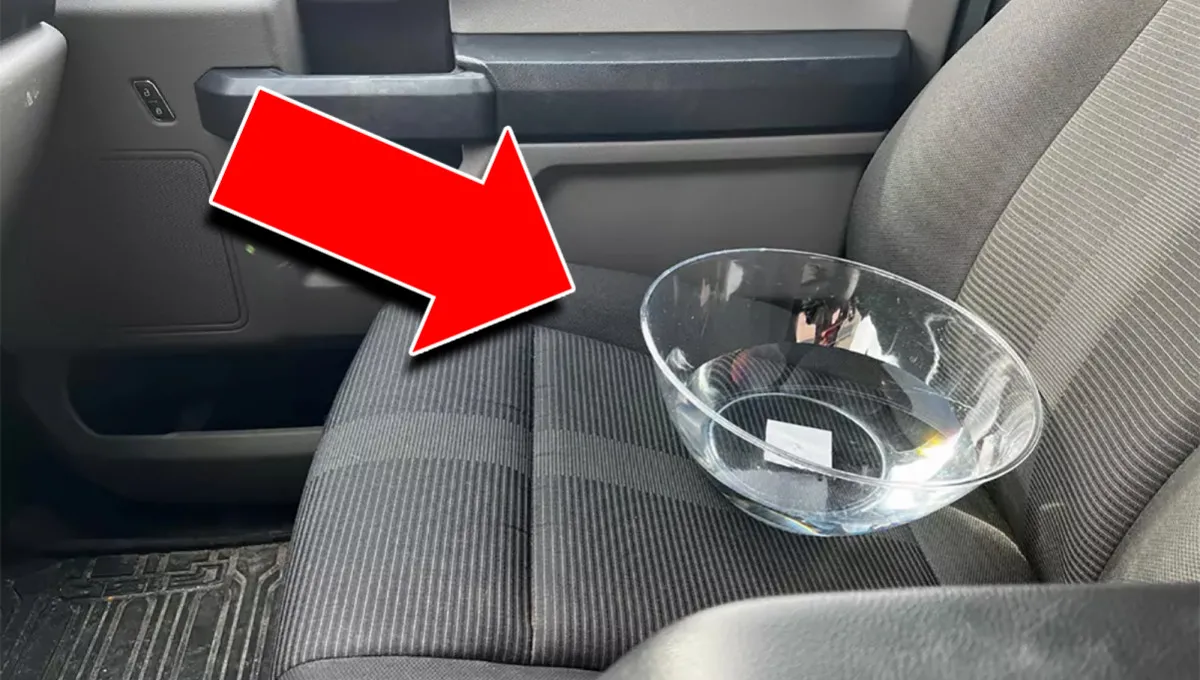
Why Are Drivers Putting a Bowl of Water in Their Cars? The Strange Fuel-Saving Trick Explained
Experts suggest several unconventional ways to cut fuel costs, from a bowl on the passenger seat to a lighter trunk.