
Changing Your Car’s Filters: How to Do Basic Maintenance Yourself Without Damaging the Engine
Changing the oil, engine air filter and cabin air filter yourself can save money, but small mistakes can cause expensive problems.
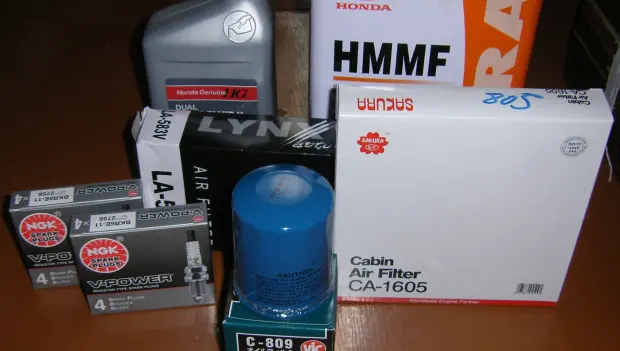
Basic maintenance does not have to mean spending an entire weekend in the garage. An oil change and filter replacements are jobs many owners can handle themselves, provided they use the correct parts, follow the vehicle manufacturer's specifications and pay attention to the small details.
Before starting, have the new oil filter, engine air filter and cabin air filter ready. You'll also need fresh engine oil, an oil drain pan, basic hand tools, an oil-filter wrench if necessary, a suitable cleaner and a torque wrench.
Changing the Engine Oil
Start by opening the hood and removing the oil filler cap. This allows air to enter the engine as the old oil drains and helps it flow out more easily.
A Simple Oil-Change Tip
Drain the oil while it is still warm. Warm oil flows more easily and can carry suspended contaminants out of the engine.
Don't remove the drain plug immediately after a long drive. Hot oil can cause serious burns. Give the engine enough time to cool to a safe working temperature before getting underneath the vehicle.
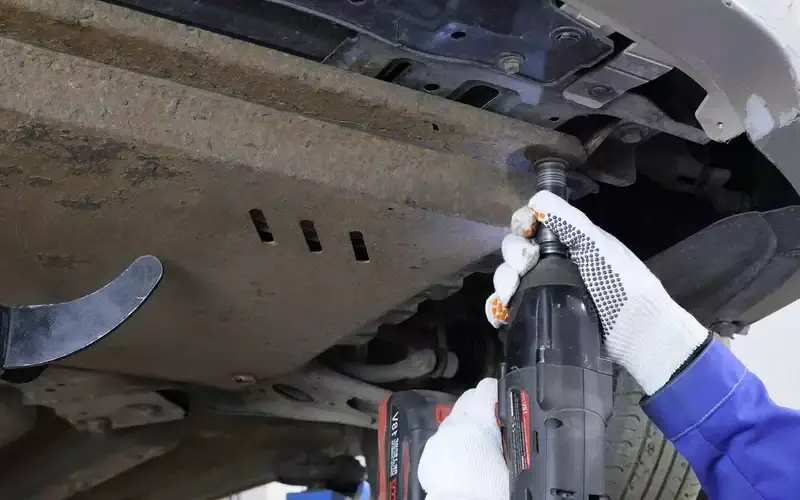
Once the vehicle is safely supported, remove the lower engine cover if it blocks access to the oil pan or oil filter.
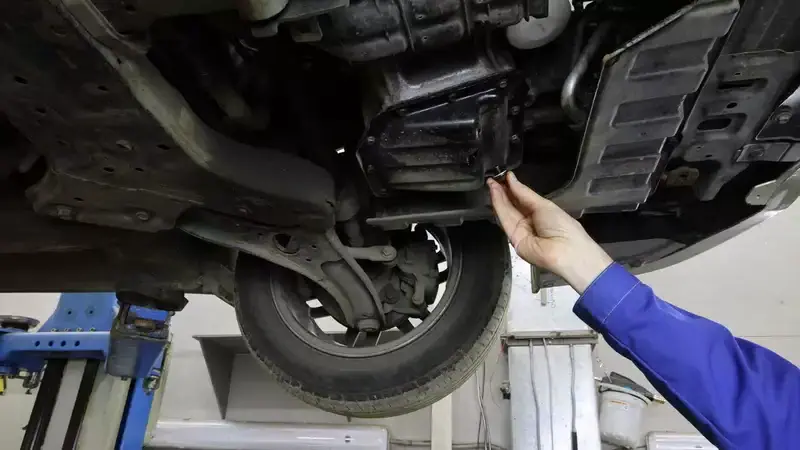
Place a drain pan under the drain plug. Loosen the plug with the appropriate wrench, then finish removing it by hand. Move your hand away quickly as the plug comes free so you don't get covered in oil.
Let the oil drain completely. There is no reason to rush this part of the job.
Before reinstalling the drain plug, inspect its sealing washer. If it is crushed, badly deformed or deeply scored, replace it rather than reusing it.
Removing the Old Oil Filter
Try loosening the old oil filter by hand first. If it is stuck, a compact universal oil-filter wrench can provide the extra grip needed to break it loose.
Once the filter starts turning, remove the tool and finish the job by hand. Some filters have relatively long threads, so take your time and keep the drain pan positioned underneath.
Before installing the new filter, clean the mounting surface on the engine with an appropriate automotive cleaner.
Apply a thin film of fresh engine oil to the rubber gasket on the new filter. This helps the gasket seat properly and reduces the chance of it sticking or becoming damaged during installation.
The new oil filter should generally be installed by hand unless the vehicle or filter manufacturer specifies otherwise. Tightening it excessively with a wrench can make the filter extremely difficult to remove during the next service and can damage the gasket.
Tightening the Drain Plug
Start threading the drain plug by hand for the first few turns. This helps prevent cross-threading, which can damage the threads in an aluminum oil pan.
For final tightening, use a torque wrench and follow the torque specification listed in the vehicle's service information. As an example, a specification of 35 N·m is about 26 lb-ft, but the correct value varies by vehicle and engine.
Never guess at the torque specification when servicing a drain plug. Overtightening can damage the threads, while insufficient tightening can allow the plug to leak.
Once the drain plug and new filter are installed, reinstall any engine covers that were removed and lower the vehicle safely.
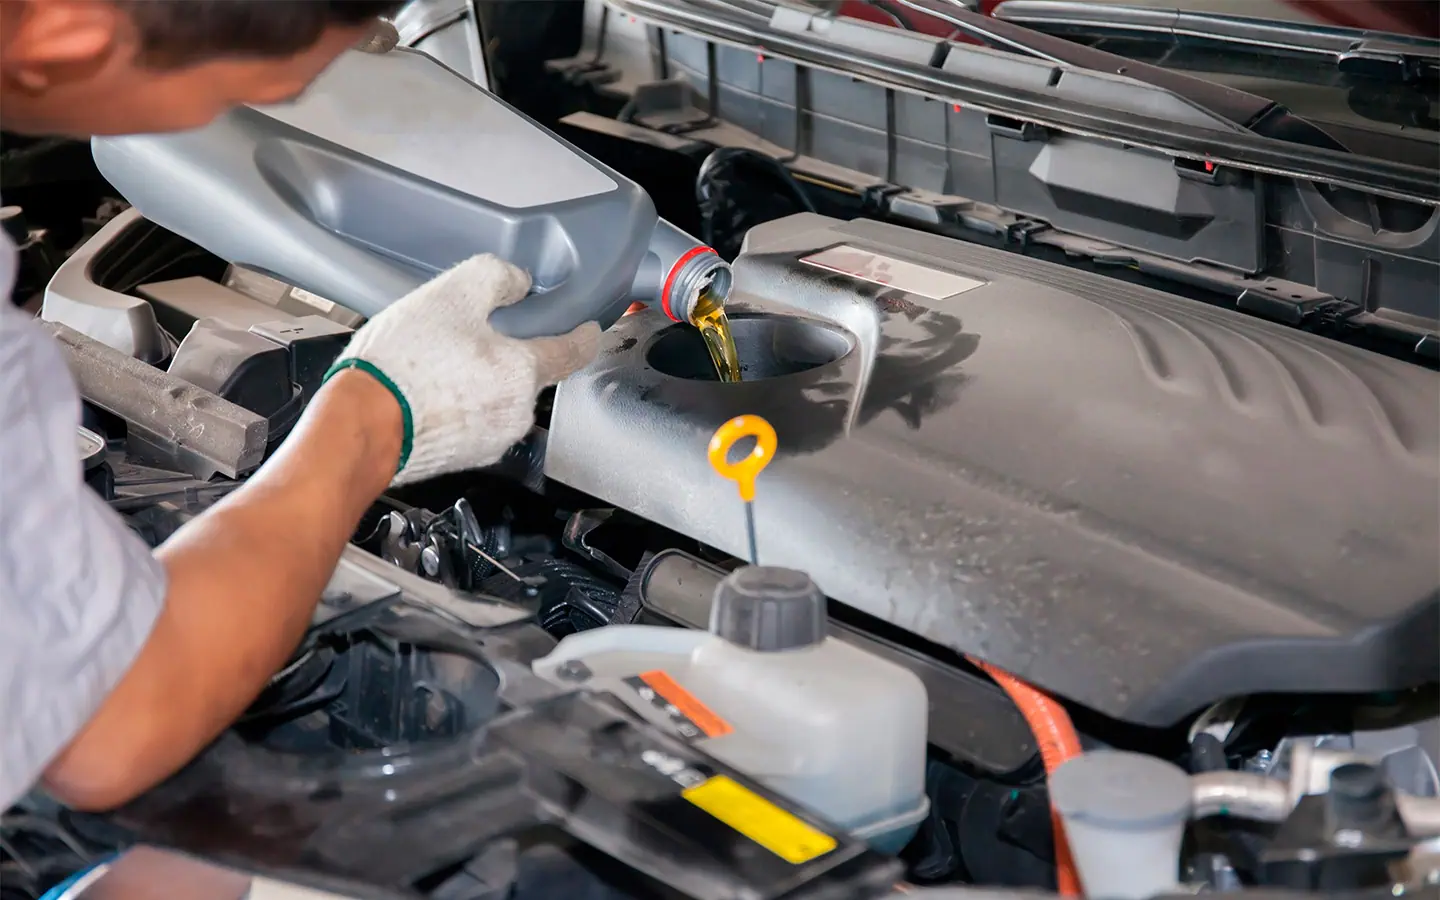
Then add the manufacturer's recommended engine oil.
How to Check the Oil Level Correctly
Getting the oil level right is just as important as installing the new filter.
- Add oil until the level approaches the upper mark on the dipstick.
- Reinstall the oil filler cap.
- Start the engine for about one to two minutes so the new oil filter can fill.
- Shut the engine off and wait a few minutes for the oil to drain back into the oil pan.
- Check the dipstick again and add oil as needed until the level is within the manufacturer's specified range.
Don't simply dump the entire recommended capacity into the engine without checking the dipstick. The amount of oil required can vary depending on the engine, filter and vehicle.
Changing the Engine Air Filter
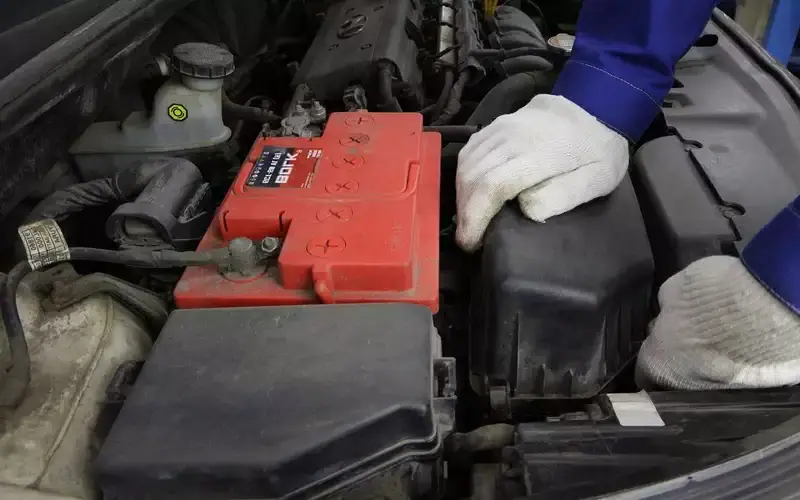
The engine air filter can be deceptive. An old filter may not look particularly dirty from the outside while its filter media is already loaded with fine dust, dirt and debris.
As the filter becomes restricted, airflow resistance increases. The engine has to work against that restriction, which can contribute to reduced performance and increased fuel consumption.
Before installing the new filter, inspect the filter housing and clean out accumulated dirt and debris.
A vacuum can be useful for removing loose dust and debris from the housing. A slightly damp cloth can also be used where appropriate, but make sure the housing is completely dry before installing the new filter.
One Detail You Shouldn't Skip
Make sure the new filter sits properly in its grooves and seals completely around its perimeter. There should be no obvious gaps.
If the filter is not seated correctly, unfiltered air can bypass the filter and enter the engine.
Close the housing and make sure all clips or fasteners are properly secured.
Follow the vehicle manufacturer's recommended replacement interval. If the vehicle regularly travels on unpaved roads, dusty roads or in unusually dirty conditions, the filter may need to be replaced more frequently.
Changing the Cabin Air Filter
The cabin air filter has a different job: it helps clean the air entering the passenger compartment.
A practical maintenance schedule is to inspect it at least once or twice a year, although the appropriate interval depends on the vehicle, climate and driving conditions.
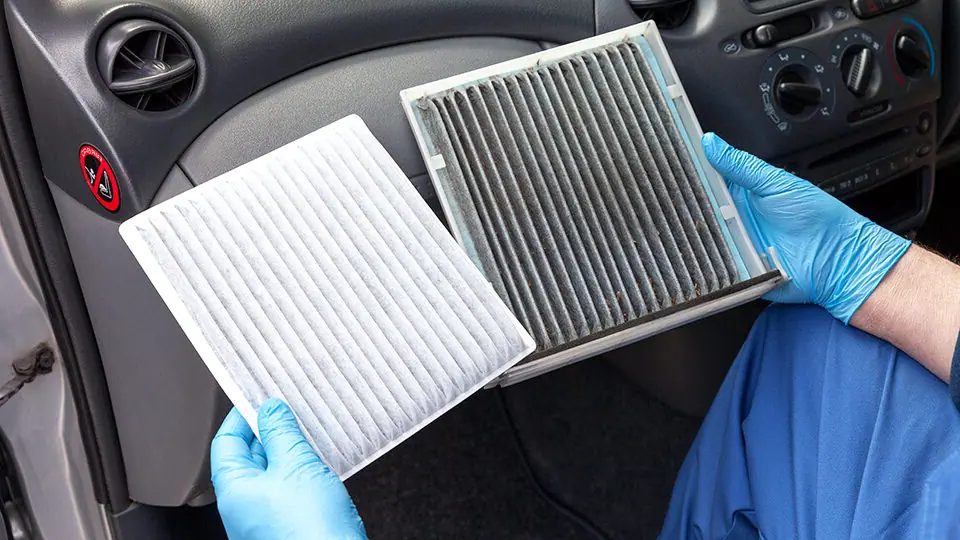
Cabin filters are exposed to dust, pollen, leaves and moisture. Over time, accumulated debris can restrict airflow and contribute to unpleasant odors.
A Quick Sign Your Cabin Filter May Be Clogged
If airflow from the vents becomes noticeably weaker or the windows fog more easily when the climate-control system is running, check the cabin air filter.
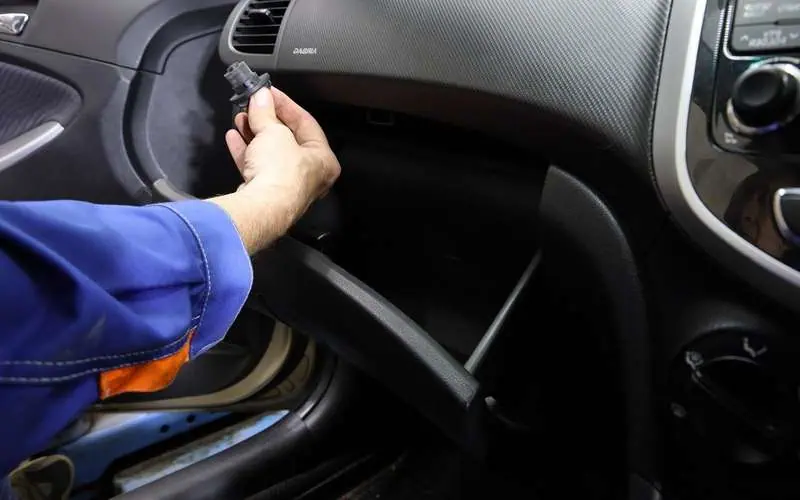
On many vehicles, the filter is located behind the glove box, although the exact location varies.
How to Access a Cabin Air Filter in 5 Steps
- Empty the glove box and open it normally.
- Locate the plastic stops or dampers on the sides of the glove box.
- Release the stops according to the vehicle manufacturer's instructions.
- Lower the glove box enough to expose the filter compartment. In many vehicles, the glove box does not need to be completely removed.
- Locate the filter cover, release its clips and pull out the old filter.
Once the filter is removed, inspect the housing. Leaves, small pieces of debris and other material can accumulate inside.
Remove the debris with a vacuum or clean cloth before installing the replacement filter.
If debris falls farther into the HVAC system, it can eventually reach the blower fan and create rattling or rustling noises when the fan operates.
Pay Attention to the Airflow Arrow
The replacement cabin filter normally has an airflow-direction arrow printed on its edge.
Do not install the filter based on how the old one happened to be positioned. Check the airflow marking and the vehicle manufacturer's instructions.
Insert the new filter in the correct direction, reinstall the cover and secure all clips. Return the glove box stops or dampers to their original positions.
The job is complete.
DIY Maintenance Is About Control, Not Just Saving Money
Performing basic maintenance yourself is not only about saving the cost of labor. It also gives you direct control over what is being installed and how the work is performed.
When you personally clean the filter housing, inspect the drain-plug threads, install the new filter correctly and torque the drain plug to specification, you know exactly what was done.
The important part is not rushing the job. Use the correct replacement parts, follow the manufacturer's service information and double-check your work before starting the engine or driving away.
Regularly replacing consumable parts and keeping track of maintenance can help prevent small problems from turning into expensive repairs.
You may also be interested in the news:
That Stuff in Your Trunk Is Costing You More Than You Think—Here’s What to Take Out
Carrying unnecessary cargo can quietly increase fuel use, accelerate wear and create an avoidable safety hazard for drivers and passengers.
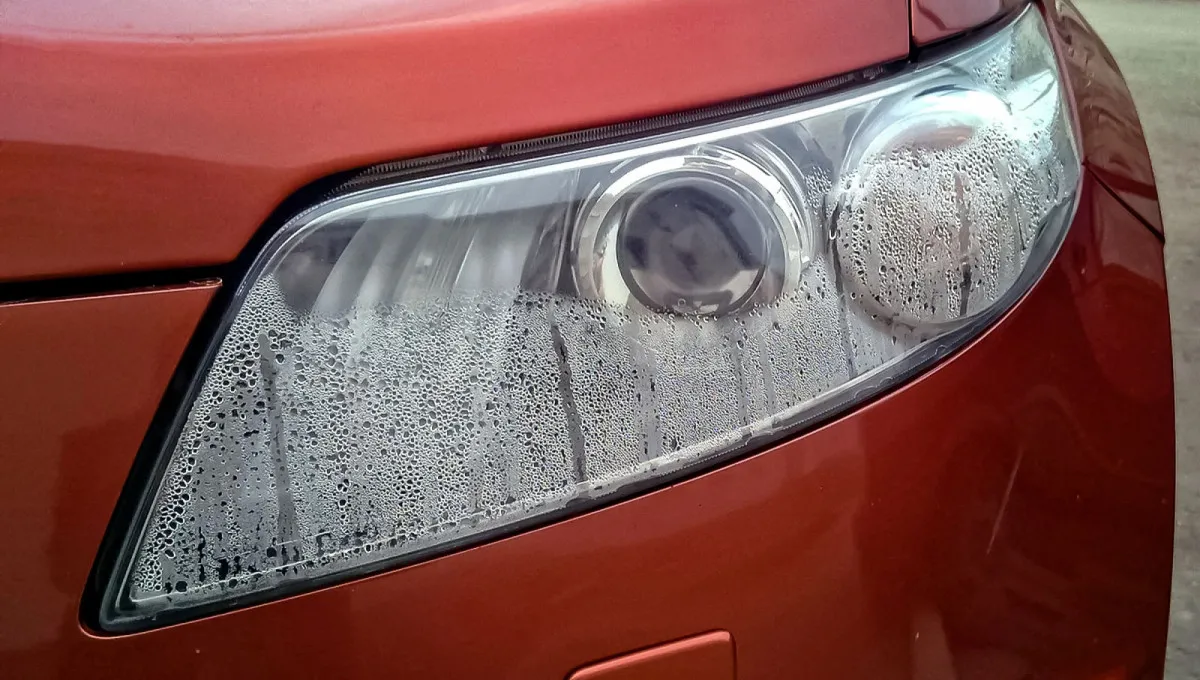
Your Headlights Are Fogging Up for a Reason: 4 Causes and 5 Steps to Fix Them
Foggy headlights are not always a sign of damage, but persistent condensation can point to a problem that needs attention.
Why Is Your Car’s Suspension Making a Knocking Noise? 5 Symptoms Every Driver Should Know
Five common suspension noises can point to specific problems, helping drivers narrow the cause before inspection.

How to Protect Your Windshield From Flying Rocks: This Simple Trick Could Save You From Replacing It
Keep your distance, slow down and repair chips quickly to help prevent small windshield damage from becoming costly cracks.
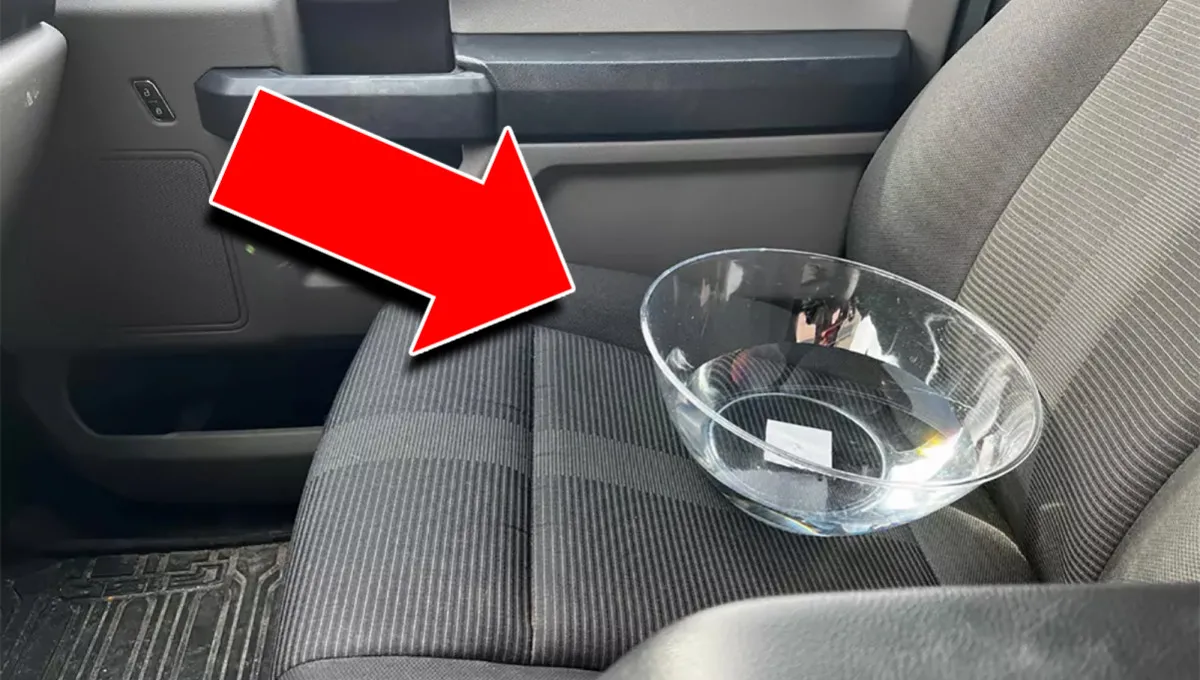
Why Are Drivers Putting a Bowl of Water in Their Cars? The Strange Fuel-Saving Trick Explained
Experts suggest several unconventional ways to cut fuel costs, from a bowl on the passenger seat to a lighter trunk.