Why Headlights Turn Cloudy — and How to Restore Clear Lenses Without Replacing Them
A simple DIY headlight polishing method can restore clarity, improve visibility, and save drivers money on repairs.
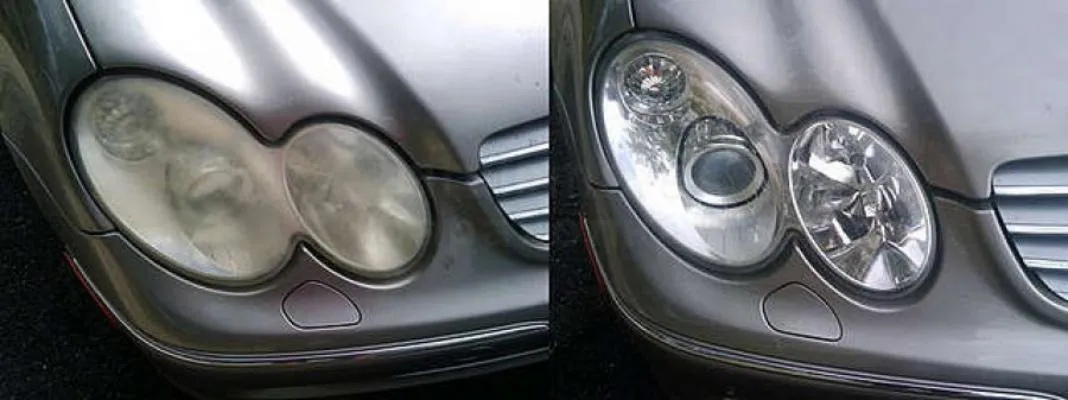
As vehicles age, even the most dependable models often develop cloudy headlights — a problem that directly affects nighttime driving safety. Fortunately, restoring clear headlight lenses doesn’t always require expensive replacements. With the right materials and a little time, drivers can bring back transparency themselves and improve lighting performance without paying for professional service.
Dull or hazy headlights are a common issue for cars with higher mileage. While many people think it’s only a cosmetic problem, cloudy lenses actually reduce how much light reaches the road. That means poorer visibility and a higher safety risk after dark. The issue isn’t always worn-out bulbs or misaligned headlights — in many cases, the lens material itself has simply aged.
Older vehicles once used tempered glass headlight lenses, which were very clear but also fragile. Modern cars typically use polycarbonate plastic instead. While it’s far more durable, polycarbonate gradually becomes scratched and oxidized from exposure to sand, dust, road debris, and weather. Over time, those tiny surface scratches scatter light and make the lens appear dull or foggy.
Why replacing headlights isn’t always necessary
Many drivers assume the only solution is buying a completely new headlight assembly. That can be expensive and often unnecessary. In most cases, the clarity can be restored through polishing using inexpensive tools and materials. The process is quick, affordable, and can deliver noticeable results without visiting a repair shop.
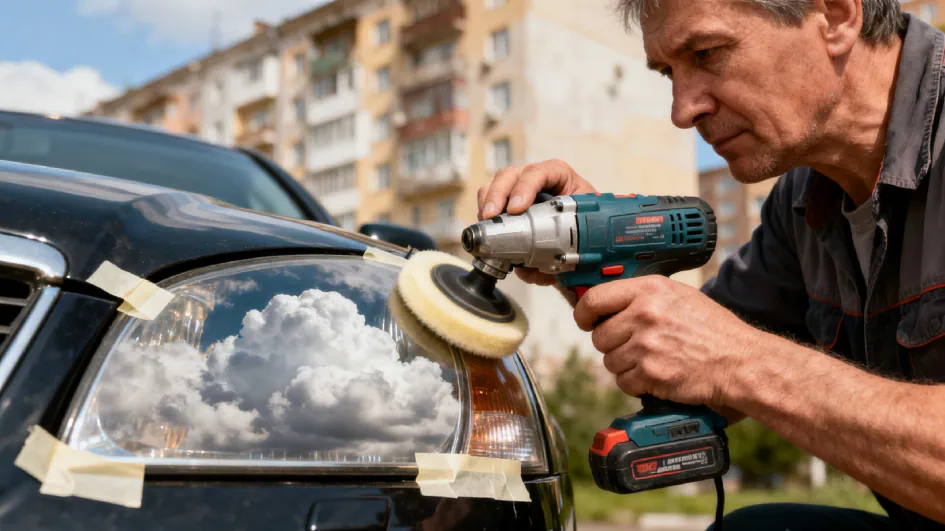
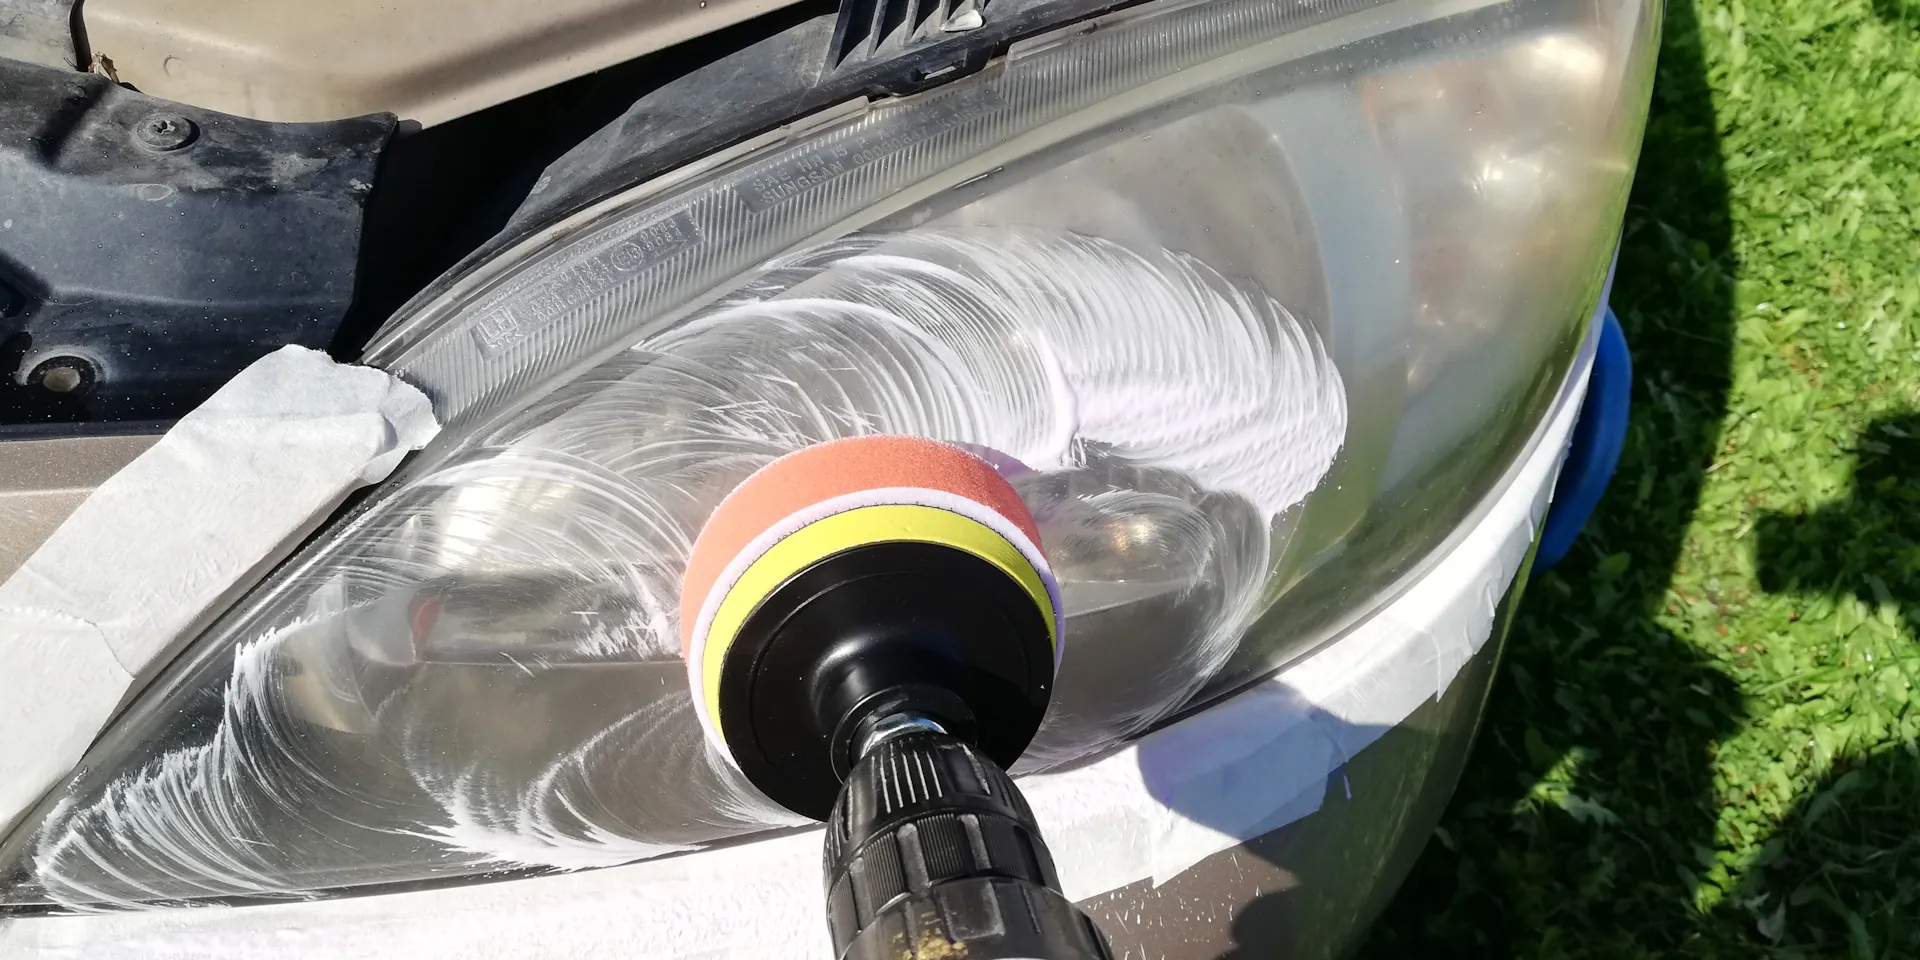
To polish headlights at home, you’ll need a few basic items: painter’s tape to protect the paint around the headlight, a foam polishing pad, a cordless drill or driver capable of running at low speeds, and a headlight polishing compound that contains mild abrasives and wax.
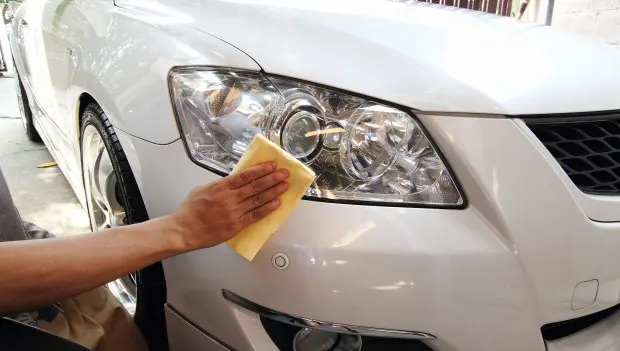
Before starting, thoroughly wash the vehicle and degrease the headlight lenses. Next, apply painter’s tape around the headlight to protect the surrounding paintwork from accidental contact with the abrasive compound.
Attach the foam polishing pad to the drill. The polishing compound can be applied either directly to the pad or onto the headlight lens itself — both approaches work, as long as you don’t use too much product.
Run the drill at low speed to avoid overheating the plastic. Move the pad smoothly across the lens without staying too long in one spot. After polishing, wipe the headlight with a soft cloth to remove any remaining compound and inspect the result. If the surface still feels rough or looks uneven, repeat the process. Once finished, remove the protective tape.
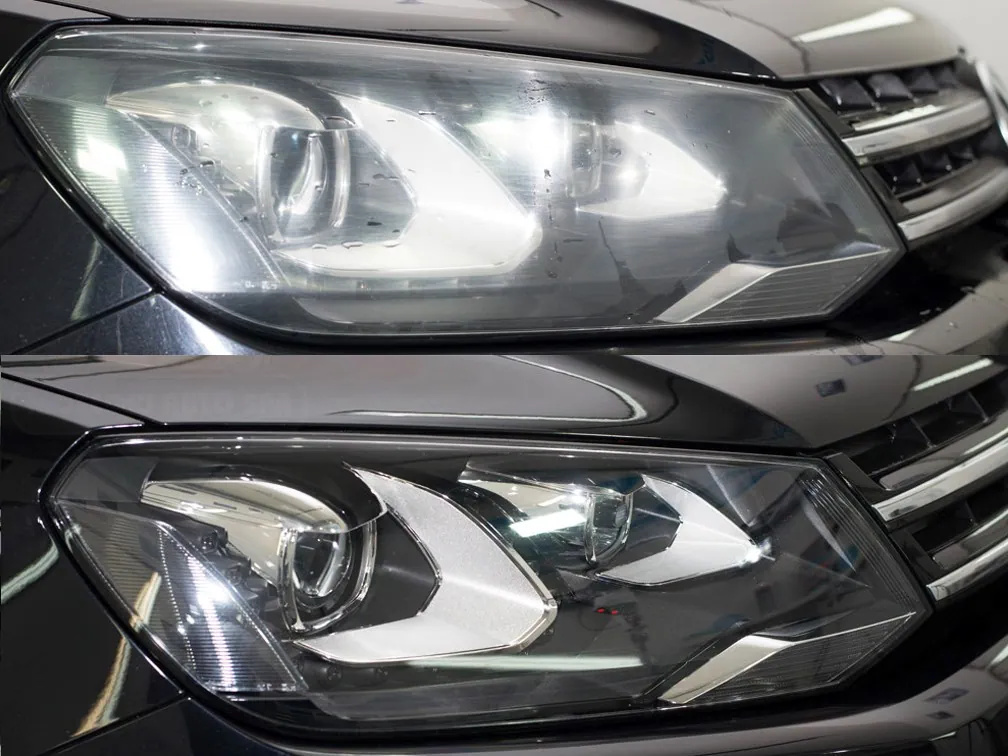
Some drivers worry that polishing headlights will take hours, but in practice the process is surprisingly quick. Restoring clarity typically takes about 10–20 minutes per headlight. After polishing, the lens usually becomes noticeably clearer. You may still see slight waviness when looking at it from certain angles, but this doesn’t affect the headlight beam pattern or vehicle inspections.
A professional polishing machine can produce an even smoother finish, but a standard cordless drill is usually more than enough to achieve visible improvement. The key is to avoid pressing too hard and prevent excessive heat buildup in the plastic.
Choosing the right polishing compound
A quality headlight polish typically contains an organic wax base combined with fine abrasive particles. This formula helps remove scratches, smooth the surface, and restore shine.
Better products avoid silicone oils, which means they won’t leave greasy residue and are safe to use on surfaces that might later be painted.
Before applying the compound, shake the bottle well. Use a microfiber cloth, sponge, or polishing pad to apply it with light pressure. When using a drill or polishing tool, an optimal speed is roughly 1,500–2,000 RPM.
Pay extra attention near the edges where the headlight meets painted body panels, since the abrasive compound can be aggressive.

After finishing the polishing process, remove any residue with a clean microfiber towel. For longer-lasting results, applying a protective sealant or coating can help shield the lens from future oxidation.
With a little effort, this simple maintenance step can restore headlight clarity, improve nighttime visibility, and extend the life of your vehicle’s lighting system.
You may also be interested in the news:
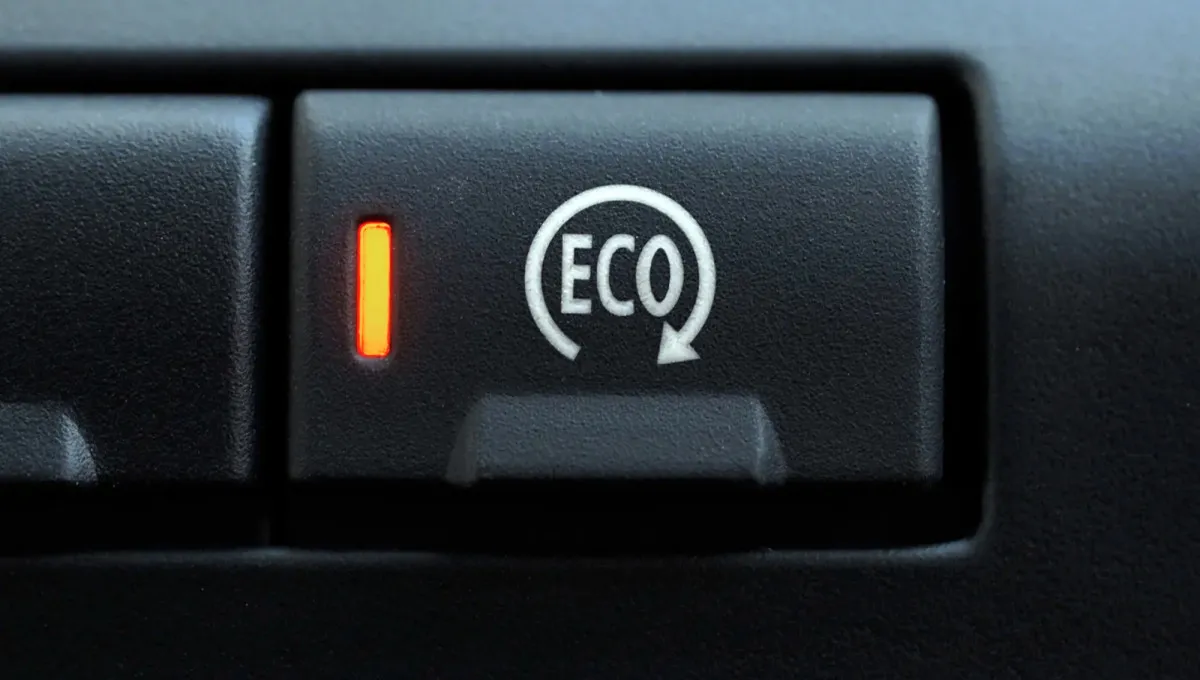
ECO Mode Explained: Can Saving Fuel Actually Shorten Your Engine’s Life?
ECO mode can improve fuel economy, but many drivers don't realize how it may affect engine performance and long-term durability.

How to Cool an Overheated Car: Five Smart Ways to Prevent Costly Engine Damage
An overheating engine can quickly turn a summer road trip into an expensive repair. These five simple tips can help prevent serious damage.
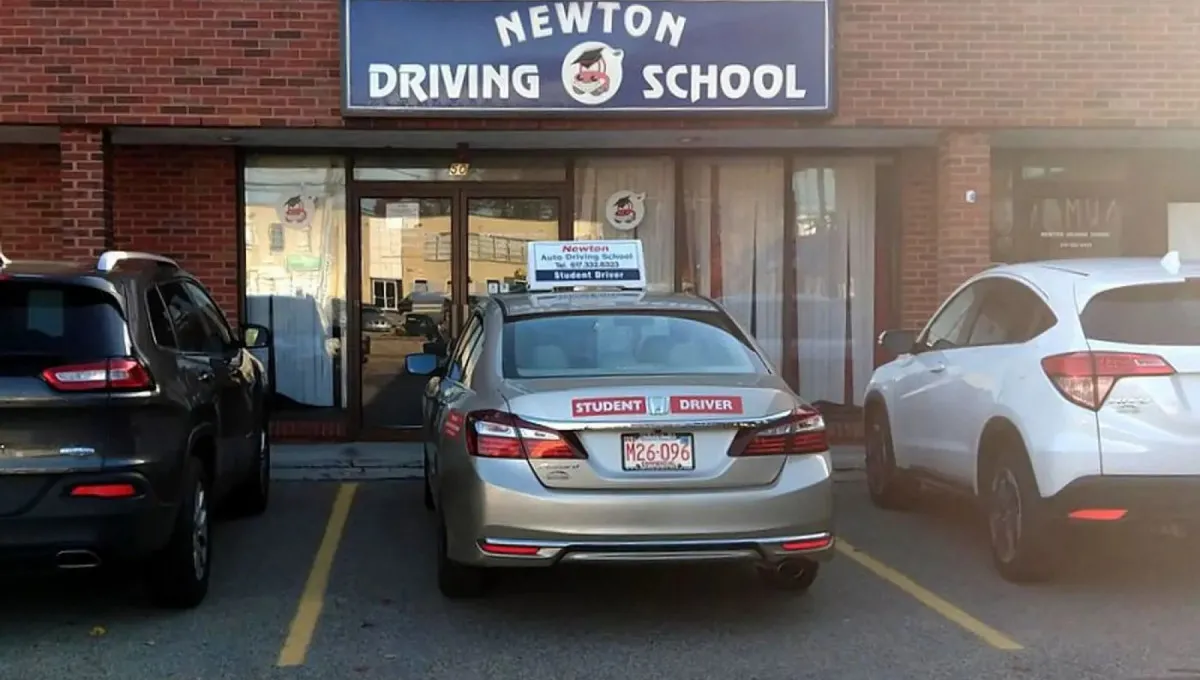
5 Essential Driving Skills Driver's Ed Doesn't Teach — But Every Motorist Needs
Learning the rules of the road is only the beginning. These five real-world skills can make the difference between simply passing a driving test and becoming a confident, capable driver.

How to Double Your Car Battery Life: 4 Tips That Actually Work
Most car batteries die within four years, but simple habits can stretch that to eight. Here’s what experienced drivers do differently.
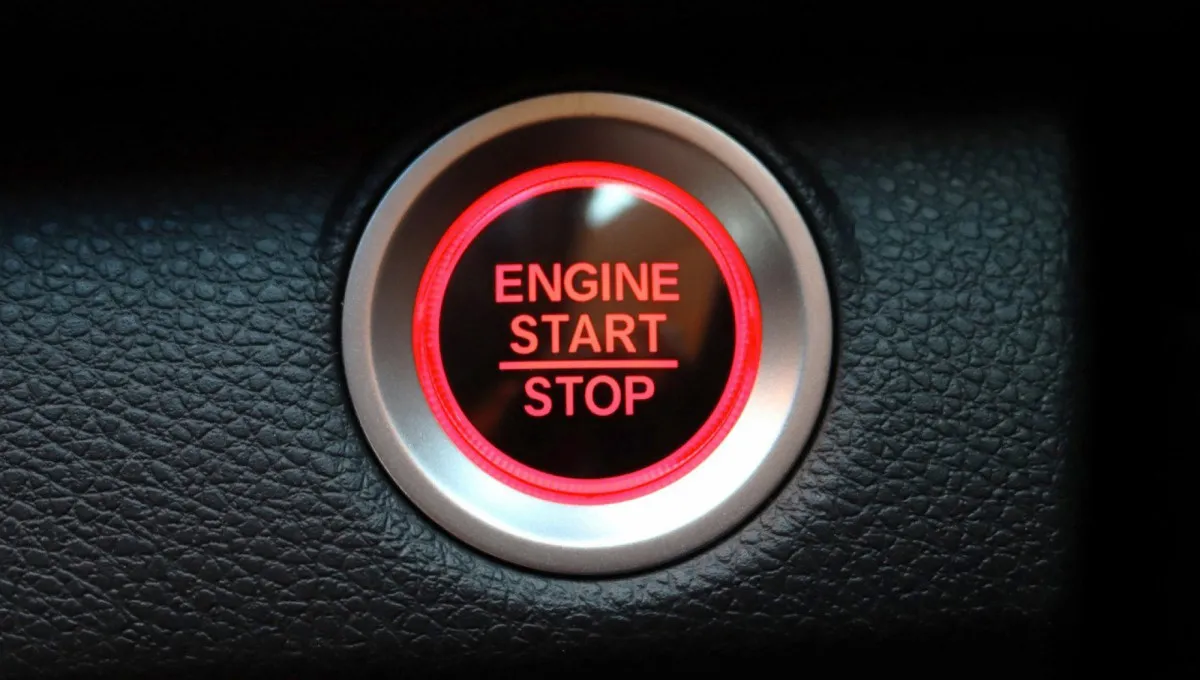
What Happens If You Press the Start/Stop Button While Driving?
Accidentally hitting the Start/Stop button at speed won't cause the disaster many drivers fear.